Install visual studio code
Download a binary and install it from here: https://code.visualstudio.com/
Install PlatformIO addon for VSCode
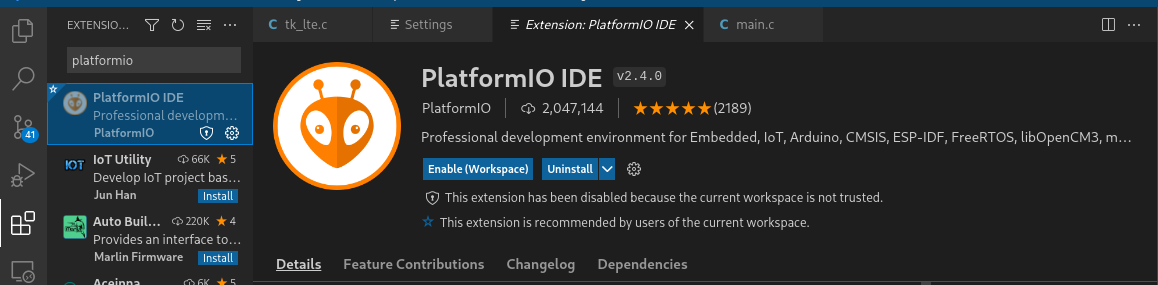
PlatformIO should be available for you as an extension on your left, you can just go ahead and install it in your system.
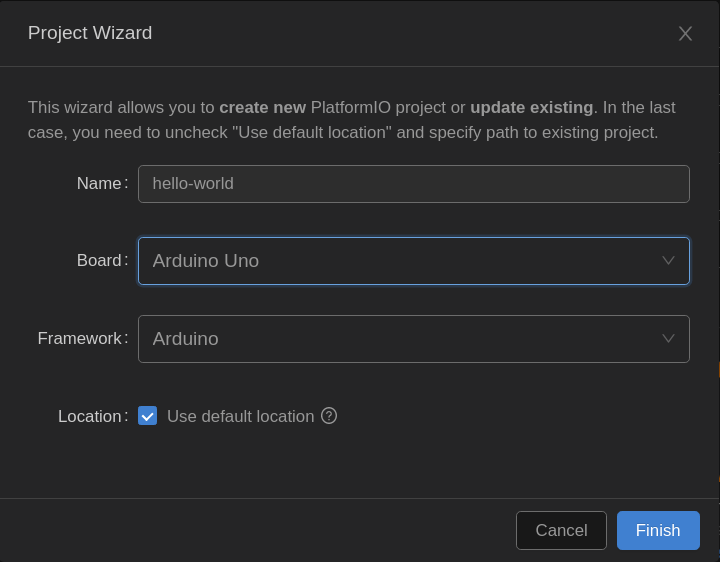
Create a PlatformIO project
- Name your project anything you would like
- Choose the right Arduino board:
- if you are using a typical Arduino Uno board - most likely just choose “Arduino Uno”
- if you are using an Arduino Nano - choose Arduino nano with ATMega328p and new bootloader
- Either choose a folder to store the project, or use default location
- Choose “finish” and wait a while (especially if this is a first project)
Project structure overview
See the explorer on the left to see the project structure

.pio,vscode- automatically generated, ignoreinclude- header fileslib- library filessrc- source files (*.c / *.cpp)main.cpp- main source file
.gitignore- automatically generated, prevents adding unnecessary files to GITplatformio.ini- project configuration you can change board, add libs there
For now, you will be interested in the main.cpp file, open it up in the editor.
Initial project - blink
Copy & paste the following code to the editor window.
#include <Arduino.h>
#define LED_PIN 13
#define LED_BLINK_PERIOD 1000
void setup() {
  pinMode(LED_PIN, OUTPUT);
}

void loop() {
  digitalWrite(LED_PIN, HIGH);
  delay(LED_BLINK_PERIOD);
  digitalWrite(LED_PIN, LOW);
  delay(LED_BLINK_PERIOD);
}
As discussed during the lecture, this is the most basic example that you would usually start with to just check the build environment and board.
Build the project with Ctrl+Alt+B, see the build output in the bottom of your screen. If you made any mistakes, you would see errors there.

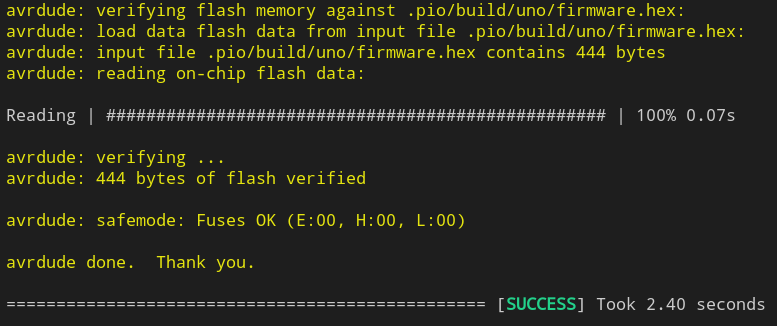
Flash the project with Ctrl+Alt+U - see the process result in the console
Add serial output to project
Now, we will add serial output to the project, that will be useful later for debugging.
To the setup() function add:
Serial.begin(9600);
Serial.println("SETUP");
To the loop() function add:
Serial.println("OK");
The complete project will look like this:
#include <Arduino.h>
#define LED_PIN 13
#define LED_BLINK_PERIOD 1000
void setup() {
  pinMode(LED_PIN, OUTPUT);
  Serial.begin(9600);
  Serial.println("SETUP");
}

void loop() {
  Serial.println("OK");
  digitalWrite(LED_PIN, HIGH);
  delay(LED_BLINK_PERIOD);
  digitalWrite(LED_PIN, LOW);
  delay(LED_BLINK_PERIOD);
}
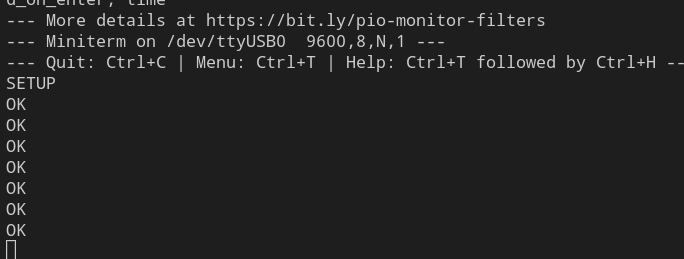
Build (Ctrl+Alt+B), upload (Ctrl+Alt+U) and afterwards open up a monitor console (Ctrl+Alt+S)
Verify if you can see
Alternative tools for UART monitoring
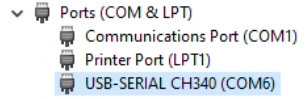
Alternatively to built-in serial monitoring of PlatformIO you can use PuTTY (https://www.putty.org/). To use PuTTY on Windows, you will need to first figure out the COM port number of your board.
Open up the Device Manager and look for COM ports:
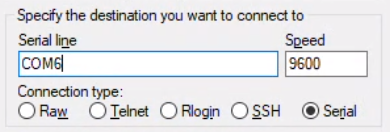
Afterwards, open up PuTTY and configure it to use that COMX port, as Serial, at 9600 baudrate:
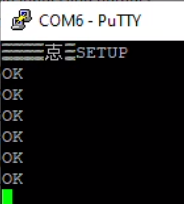
You should see similar output:
Next steps…
OK, you should be all set, you can go ahead and go to the next section: Working with GPIO