Installing and starting node-RED
Installing Docker
We will use NodeRED in docker container. So let’s start with installing Docker for Windows: https://hub.docker.com/editions/community/docker-ce-desktop-windows
It might require you to reboot your computer and install Linux Subsystem for Wondows.
Running Node-RED in Docker
When you have docker installed - launching node-red is as easy as:
docker run -it -p 1880:1880 --name mynodered nodered/node-red
And afterwards you should have it available via browser at http://localhost:1880
Node-RED basic building blocks
MQTT input and output
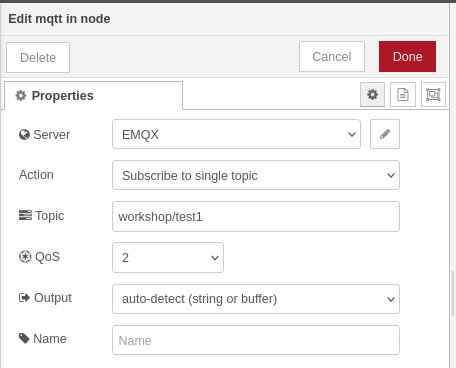
The starting point usually will be the MQTT input and output blocks:

Normally, you would configure the input block to subscribe to a specific topic, while the out node would just emit anything that it gets sent.
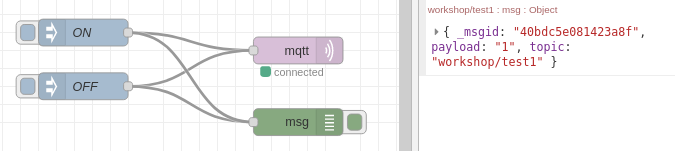
Message injection blocks
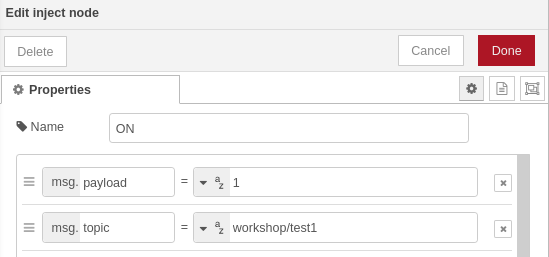
Another useful block is the ‘inject’ block that enables you to manually inject a message into the system. For example you could manually control the LED from the cloud.

Each of the inject blocks needs to have proper payload and topic configured:
Debugging blocks
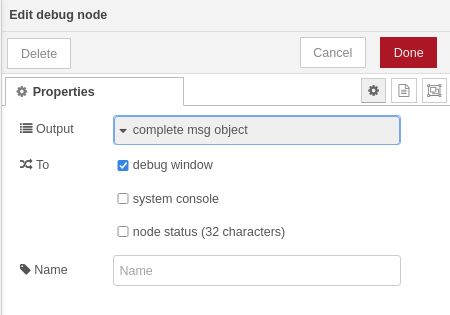
For debugging and snooping on any message in the flow you can use the debug block:
I recommend configuring it to display a complete message object:
Function block
You can also use the function block to implement any logic with simple control sequences like if, switch-case etc. The function block just needs to return a proper msg object with both topic and payload.
Example:

Note: to store data between function runs, you can save and pull them from the flow context.
Example - to filter and only send updates when the value has changed:
var lastTemperatureValue = context.get('lastTemperatureValue')||5000;

if (msg.payload == lastTemperatureValue)
    return null;
else{
    context.set('lastTemperatureValue', msg.payload)
    return msg;
}
Experiments
Figure out how to use node red to:
- manually control a GPIO on your device
- control automatically GPIO on the same or other device based on some user input (potentiometer?)
- report sensor data to the cloud
- log RFID card reads to the cloud
Next steps
OK, we’re finished with the guided part of the workshop - time for project ideas with tips